
~ next, pin the patchwork and batting layers together
~ machine quilt them together; I used a walking foot and stitched along the piecing lines ("stitching in the ditch")
 ~ a peek at the underside after quilting together...
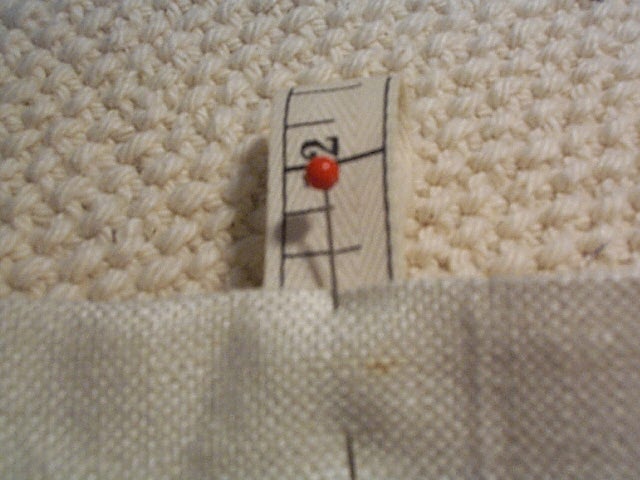
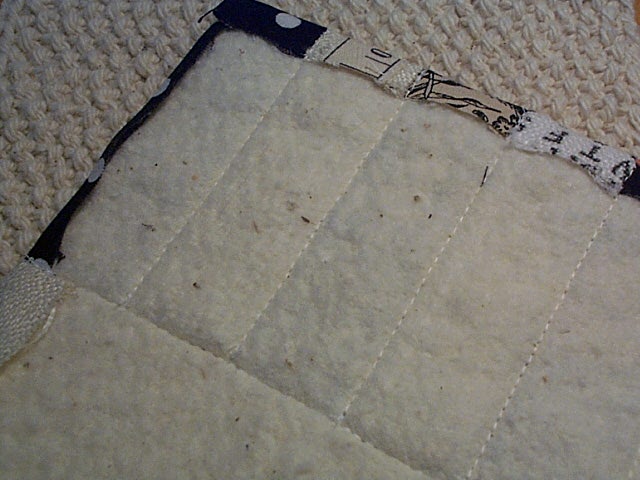 ~ I added a loop which you could make from some of your fabric or from some ribbon as I did here
~ I just used a zigzag stitch to attach it...
 ~ now the patchwork top is ready to be pinned and sewn to the knitted piece...
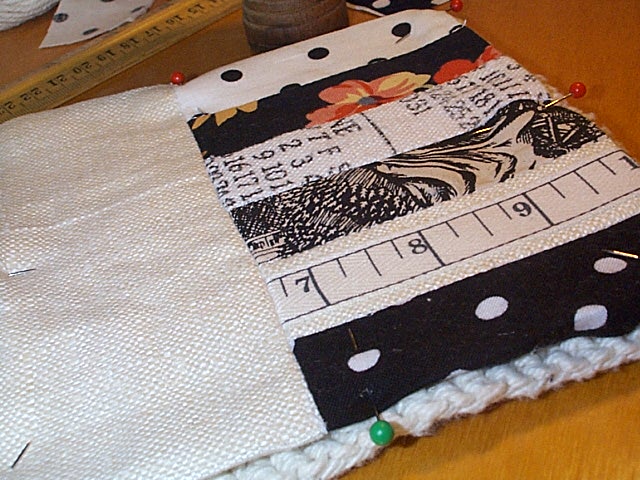 ~ I slipstitched the fabric in place by hand...
 ~ and you are done!
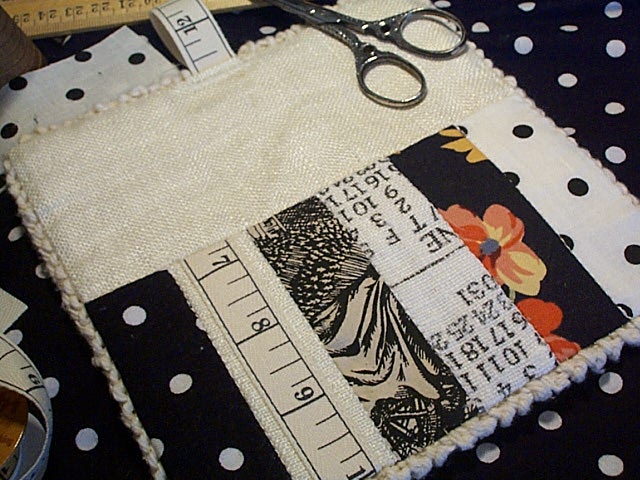 I hope these instructions make some sense, and if you end up making any of these hotpads I would love to see them!

what a great potholder :)
ReplyDeleteactually, more of a work of art than just a regular ol' potholder :)
I love the fabrics you've chosen!
ReplyDeleteIt's so kind of you to take the time to put together and share this tutorial...thank you.
What an awsome tutorial!!!! These would make great Christmas gifts!!!!
ReplyDeleteWhat a great tutorial. It definaitely fulfills William Morris' criteria of what you should have in your house..."beautiful *and* useful". I'm inspired!!!
ReplyDeleteThanks for the great tutorial. I found a lovely old linen teatowel last week for 50c and I have my square knitted. Now with you helpful instructions I'm set. I'll do a show and tell when I've finished it.
ReplyDeleteAwesome. I don't think I asked but it had crossed my mind a number of times...usually when I was reaching for my tired out potholder and thinking how I should make new ones. :) I'll have to give this a whirl pretty soon. Thanks so much for posting instructions. They're great.
ReplyDeleteWhat a cute project.
ReplyDeleteSo cute! I wish I knitted.
ReplyDelete~Jody
Just found you via Story Book Woods, love you blog, your home looks adorable. And I noticed you are knitting a tea cosy just like the one I want.
ReplyDeleteI love these...actually I'm lovin your whole blog. I can see some of these ending up in the Christmas baskets this year! Thanks for a great tutorial.
ReplyDeleteThank you for sharing this tutorial - I too will be doing some of these for Christmas gifts!
ReplyDeleteI knitted this and the instructions are perfect. Thank you so much, I used guacamole from the Sugar and Cream collection. Very elegant pattern. I also plan to make your potholder and dishtowels. Thank you!
ReplyDeleteI knitted this and the instructions are perfect. Thank you so much, I used guacamole from the Sugar and Cream collection. Very elegant pattern. I also plan to make your potholder and dishtowels. Thank you!
ReplyDeleteWhat a cute project.
ReplyDeleteThanks for the great tutorial. I found a lovely old linen teatowel last week for 50c and I have my square knitted. Now with you helpful instructions I'm set. I'll do a show and tell when I've finished it.
ReplyDeleteThank you, THANK YOU. Well no wonder yours are turning out soooo much nicer then mine. I am off to make more. Maybe it will not be as crooked as the one I made yesterday !!! xoxo Clarice
ReplyDeleteThank you for the wonderful tutorial. I have made two of these so far and have two more to make. I just love them. They turned out great except for my hand stitching but I guess that will improve with time. Thanks again!
ReplyDeleteLei, you're welcome--I'm glad like them!...Deb
Delete